A while ago I inherited a Craftsman 315.1175 3″ belt sander and honestly didn’t have much use for it. It just sat in the corner staring at me as I sanded, filed, and sharpened things by hand. The other day I decided I had enough and built a stand for it (after disassembling and doing a thorough cleaning and tune-up of course).

I pretty much followed this instructable with a few alteration. First off the lumber is different as I was just using scraps I had laying around. Second, I added a couple extra pieces because I wanted some versatility when mounting as these photos show.
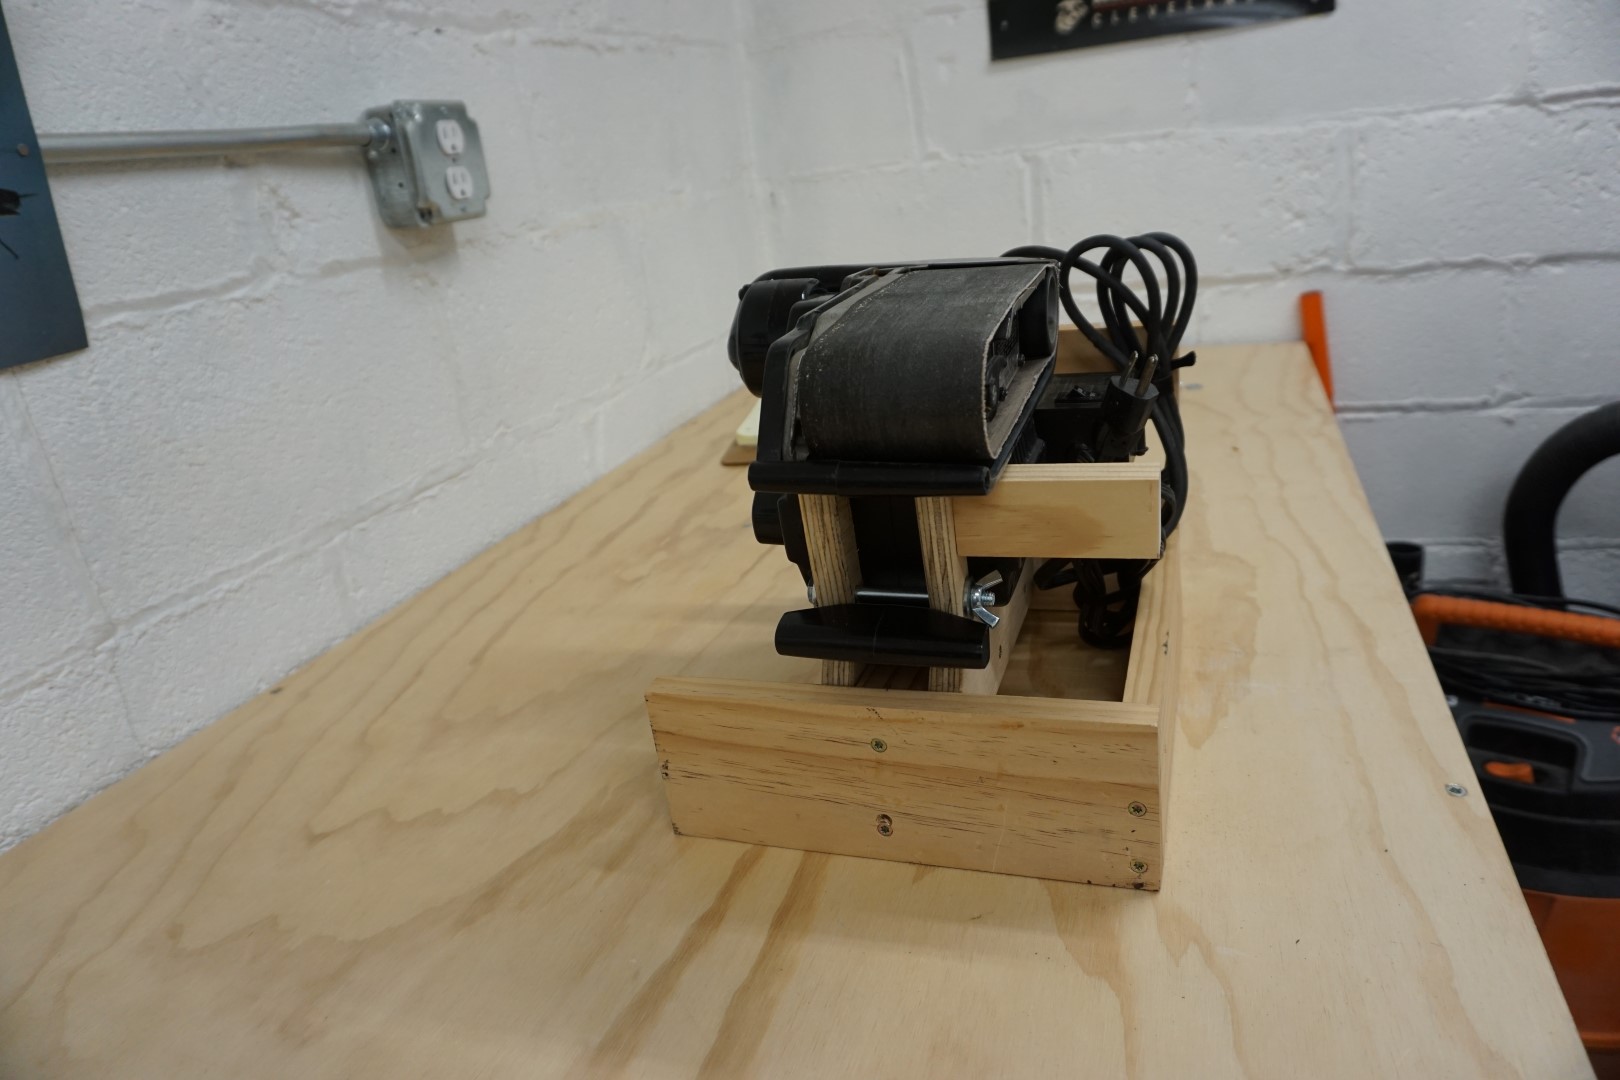

The extended top piece gives some extra rigidity but also is the same width as the bottom so that it lays flat when horizontal. I a board to span these to bolt to the bench in addition to adding a little leg to give extra support. Unfortunately it cannot be bolted when flat, though figure I can simply clamp it to the bench when needed in that position.
I also added an external switched outlet which I had from another tool. I highly recommend buying or building one as locking the trigger can be a pain and a bit dangerous due to its awkward location. Honestly, having the switch require less modification to the side panels keeping more rigidity.
The only tip I would add to the previous instructions was to try to make the template as tight as possible to hug the sander. Once I cut the side panels they didn’t fit until I did some thorough contouring of the curves. Once I did, they fit tight. Also drill the bolt holes near the handles, especially the front horn as the bolt doubles from keeping the sander from tipping out of the holder.
I have to say, once done I have been using my belt sander constantly from sanding corners to sharpening chisels. Hopefully this post invigorated you too.